A complete off grid solar system requires several key components, including solar panels, charge controllers, battery storage, inverters, and proper electrical protection. This guide explains the essential steps for building a DIY off grid solar power system, covering system planning, component connections, battery and inverter setup, testing procedures, and safety considerations to help users create a reliable standalone energy solution.
Building an off-grid solar system gives homeowners a path to true energy independence, while also delivering real financial benefits, with annual savings often ranging from $1,500 to $2,500. With clear instructions and the right tools, the process is manageable for most DIY enthusiasts, and many find the hands-on experience not only practical but also deeply rewarding and empowering. To help you get started, this guide will walk you through the step-by-step DIY instructions for building a fully off-grid solar power system.
Components and Tools

Main Components
Every Off-Grid Solar System relies on four main components. These parts work together to generate, store, and deliver electricity:
Solar panels: Convert sunlight into direct current (DC) electricity.
Battery bank: Stores energy for use when sunlight is not available.
Charge controller: Regulates the flow of electricity and protects batteries from overcharging.
Power inverter: Changes DC electricity from the batteries into alternating current (AC) for household appliances.
Some homeowners choose pre-configured solar kits or all-in-one units. These kits offer lower upfront costs and allow for self-paced installation. They suit small-scale projects and provide a good learning experience. However, custom-built systems offer more flexibility and can be tailored to specific energy needs.
Tools Needed
Installing an Off-Grid Solar System requires several basic tools and supplies. The following list covers the essentials:
Copper wire
Breakers and fuses
MC4 connectors
Meter for measuring voltage and current
Screwdrivers and wrenches
Drill and mounting hardware
These tools help connect components safely and securely. Proper wiring and protection devices reduce the risk of electrical hazards.
Choosing Quality Parts
Selecting reliable brands improves system performance and longevity. The table below highlights trusted manufacturers for each major component:
Brand | Key Products | Notable Features |
|---|---|---|
MidNite Solar | Charge controllers, Inverter systems | Safety-focused, easy installation |
SunModo | Solar mounting systems, Solar trackers | Durable and flexible mounting solutions |
CW Energy | Solar panels, Energy storage systems | High energy efficiency |
Ruixu | Solar panels, Inverters, Energy storage systems | Reliable, affordable equipment |
Hyperion Solar | Bifacial solar panels, Off-grid solar kits | Advanced technology, sustainability |
Quality components ensure the Off-Grid Solar System operates efficiently and safely for many years.
Planning and Sizing
Energy Audit
A thorough energy audit helps homeowners understand their electricity needs before installing an Off-Grid Solar System. The process involves several steps:
Analyze energy bills to identify consumption patterns over time.
Locate areas where energy waste occurs in the home or business.
Inspect major appliances for efficiency and consider upgrades.
Assess heating and cooling systems for performance.
Replace old lighting with energy-efficient options.
Check windows and doors for air leaks that increase energy use.
Install smart energy monitoring devices to track usage.
Practice energy-saving habits every day.
Calculate solar power requirements based on reduced consumption.
Hire a professional energy auditor for a detailed evaluation if needed.
System Sizing
Accurate system sizing ensures the solar setup meets daily energy needs. Homeowners follow these steps:
Determine daily energy use in Amps at 12VDC by checking device specifications or usage charts.
Multiply each device’s power consumption by the number of hours it runs per day.
Identify the amperage output of the chosen solar panels.
Calculate the number of sun hours available in the area, focusing on the least sunny month.
Divide total Amps needed by available sun hours to find the number of panels required. Add 20% to account for weather changes.
Multiply daily Amps needed by the number of days of autonomy desired to size the battery bank.
Many homeowners make mistakes during this stage. Common errors include misinterpreting appliance ratings, failing to account for startup surges, neglecting days of autonomy for battery sizing, and disregarding inverter efficiency. Some overlook wiring and component losses or forget to plan for future growth. Verifying calculations with real-world data helps avoid these problems.
Site Survey
A site survey determines the best location for solar panels. Homeowners consider these factors:
Sunlight availability and solar access. The amount of sunlight a location receives affects solar efficiency.
Roof and structural assessment. The building must support the weight and size of solar panels.
Electrical system compatibility. The solar setup must integrate with the property’s electrical infrastructure.
Local climate and weather conditions. Weather impacts solar panel performance.
Permitting and regulatory compliance. Local laws and regulations must be followed for installation.
Off-Grid Solar System Sizing
Sizing an Off-Grid Solar System requires careful planning. Homeowners should avoid building a system with mismatched parts or improper sizing. Planning ahead for future energy needs helps prevent costly upgrades. Many people forget to account for inverter efficiency, wiring losses, and battery autonomy. Reviewing calculations with actual usage data ensures the system performs as expected.
A table below summarizes common mistakes and solutions:
Mistake | Solution |
|---|---|
Misinterpreting appliance ratings | Check manufacturer specifications |
Neglecting battery autonomy | Size batteries for several days of backup |
Disregarding inverter efficiency | Choose an inverter with high efficiency |
Overlooking wiring losses | Use proper wire gauge and connectors |
Not planning for growth | Add extra capacity for future needs |
Installation Steps
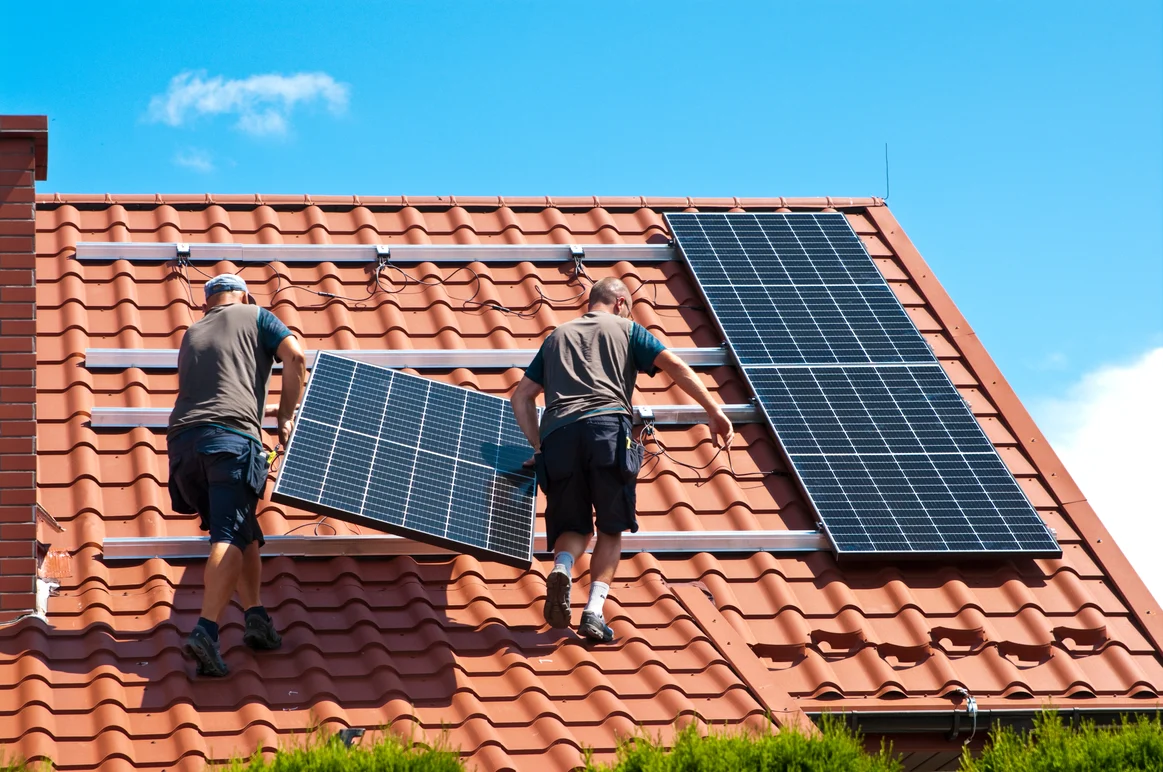
Mounting Panels
Proper panel mounting ensures the solar system captures the most sunlight. Installers should follow best practices to maximize energy production:
Point solar panels toward geographic south for the highest sunlight exposure. If this is not possible, west-facing panels can boost late-day energy.
Keep panels clean. Dust and debris can lower efficiency by up to 25%. Clean panels at least once a year, and more often in dusty regions.
Avoid shaded areas. Even small shadows can reduce output. Trim trees and watch for new sources of shade.
Use monitoring tools to track performance and spot issues early.
Wiring and Connections
Wiring connects all parts of the solar system and must follow a clear sequence for safety and efficiency. The most common wiring configuration includes these steps:
Connect solar panels in series or parallel, depending on voltage and current needs.
Combine outputs from multiple panels in a DC combiner box.
Route power to the charge controller, which regulates charging to the battery bank.
Store energy in the battery bank.
Connect the battery bank to the inverter, which converts DC to AC power.
Distribute AC power to household loads.
Add a backup generator if extra power is needed.
Installers should use the correct wire gauge and secure all connections tightly. MC4 connectors help ensure safe and weatherproof links between panels and controllers.
Battery and Inverter Setup
Setting up batteries and inverters requires careful attention to detail. Follow these recommended procedures:
Connect the charge controller to the batteries using stranded copper core wire. Match positive and negative terminals and install proper fuses.
Link the charge controller to the solar panels with MC4 connectors, checking polarity.
Attach the battery bank to the inverter with thick battery cables. Keep cable runs short and consult the inverter manual for fuse requirements.
Initial Testing
After installation, perform several tests to confirm the system works correctly:
Use a multimeter to measure the battery bank’s state of charge. Log voltage readings for future reference.
Inspect all connection points for looseness. Tighten wires if needed.
Clean dust and grime from battery terminals and cases to maintain good electrical contact.
Safety Tips
Safety remains the top priority during installation. Installers should use the following safety devices and gear:
Safety Device | Function |
|---|---|
Ground Fault Circuit Interrupters | Protects against electrocution by tripping at a current threshold of 30 mA or less. |
Residual Current Devices | Trips at a voltage unbalance superior to 43 volts, protecting appliances and living beings. |
Electrical Grounding | Provides a return path for faulty electricity during overloads and faulty wiring. |
Solar Isolator Switch | Important for disconnecting the solar array from the charge controller, rated at 32A or 63A. |
Safety Gear | Includes leather gloves, hard hats, arc-rated pants, face shields, and long-sleeved shirts. |
Installers should also wear:
Leather gloves
Hard hats
Arc-rated pants
Face shields
Long-sleeved shirts
Common hazards include falls from rooftops, electrical shocks, muscle strains, and weather-related risks. Installers should use fall protection, avoid working on live circuits, lift panels carefully, and monitor weather conditions.
Maintenance and Troubleshooting
Routine Checks
Regular maintenance keeps an Off-Grid Solar System running efficiently. Homeowners should follow a monthly and seasonal routine to prevent problems and extend system life.
Clean solar panels at least once a month with a soft cloth or sponge and water. This removes dust and debris that can block sunlight.
Inspect panels for cracks, discoloration, or loose mounts. Address any damage quickly.
Monitor battery health each week. Check charge levels and, for lead-acid batteries, inspect electrolyte levels.
Test all wiring and connections monthly. Secure any loose wires to prevent energy loss or hazards.
Test inverters and charge controllers every month to ensure proper function.
Track system performance using monitoring tools. Look for drops in energy production.
Check for signs of pests that may damage wiring.
Adjust battery storage and panel positioning as seasons change.
Schedule a professional technician to inspect the system once a year.
Keep a maintenance log to record all checks, repairs, and inspections.
Common Issues
Several problems can affect system performance. Homeowners should watch for these common issues:
Inverter malfunctions often show error codes. Check connections and consult the manual.
Battery issues may appear as low voltage. Recharge or replace batteries as needed. Regular maintenance prevents sulfation.
Solar panel problems include shading or physical damage. Clean panels and repair damage promptly.
Wiring faults can cause power loss or safety risks. Replace damaged wires immediately.
Charge controller issues may result from incorrect settings or loose connections. Review the manual for troubleshooting steps.
A quick response to these problems ensures reliable power and system safety.
Long-Term Care
Long-term care practices help maximize the lifespan of system components.
Clean solar panels regularly to maintain efficiency.
Inspect all connections for corrosion or damage.
Practice safety to prevent electrical fires or shocks.
Use energy-efficient appliances to reduce demand on the system.
Monitor energy consumption and adjust habits to optimize performance.
Most solar batteries last between 5 and 15 years. Lithium-ion batteries can last 10 to 15 years, while lead-acid batteries typically last 3 to 5 years. Usage patterns, depth of discharge, and environmental conditions affect battery life.
Conclusion & FAQ
Building an off-grid solar system involves several key steps:
Calculate daily energy use.
Select efficient batteries, such as lithium iron phosphate.
Determine the number of solar panels needed.
Install a charge controller.
Choose a reliable inverter.
How much does a typical off-grid solar system cost?
A small off-grid solar system usually costs between $5,000 and $15,000. Larger systems for full home use may reach $30,000. Prices depend on energy needs, battery type, and installation choices.
Can someone install an off-grid solar system without professional help?
Many DIYers install off-grid solar systems using kits and clear instructions. Some tasks, such as electrical wiring, may require professional support for safety and code compliance.
What maintenance does an off-grid solar system need?
Owners clean panels monthly, check battery health weekly, and inspect wiring often. Annual professional inspections help prevent problems. Routine care extends system life and keeps energy production high.
How long do solar batteries last in an off-grid system?
Lead-acid batteries last 3 to 5 years. Lithium-ion batteries last 10 to 15 years. Battery lifespan depends on usage, charging habits, and environmental conditions.